Are you planning a small event or get together with the movie on the projector and don’t know how it works? Well, this guide will help you walk through each and every step, from choosing the right projector to troubleshooting common issues. So, let’s start.
Understanding how a projector works
Before directly diving into the steps, let’s briefly understand how projectors work and all their functions. They use a lens system to project images from a source (like a laptop or any streaming input) onto a screen or flat surface.
Most projectors come with advanced brightness, resolution, and connectivity settings to suit different scenarios. Some of the most common ones are the following:
DLP projectors: Compact and reliable, these projectors use micro mirrors to produce sharp, high-contrast images. That makes them ideal for presentations and home theatres.
LCD projectors: Known for their vibrant colours and brightness, they are great for well-lit spaces and detailed visuals.
Laser projectors: Long-lasting and energy efficient, laser projectors deliver excellent image quality with high contrast and deep blacks.
1. Choosing a projector
Now, before getting into how to set up a projector, Let us give you the basics of choosing one for your needs. Some of the common factors you should look out for while choosing the projector are:
- The purpose of usage is important.
- Brightness levels measured in lumens define visibility in different lighting conditions:
- 1,000-3000 lumens works best for darker rooms.
- Above 3000 lumens is ideal for lit spaces.
- Higher revolution such as 1080p or 4K, ensures better image quality.
- Choose a small throw ratio for small spaces and a long throw ratio for large rooms.
- The connectivity options, the more, the better.
When you have matched the projector to your specific requirements, you are ready to proceed with the setup.
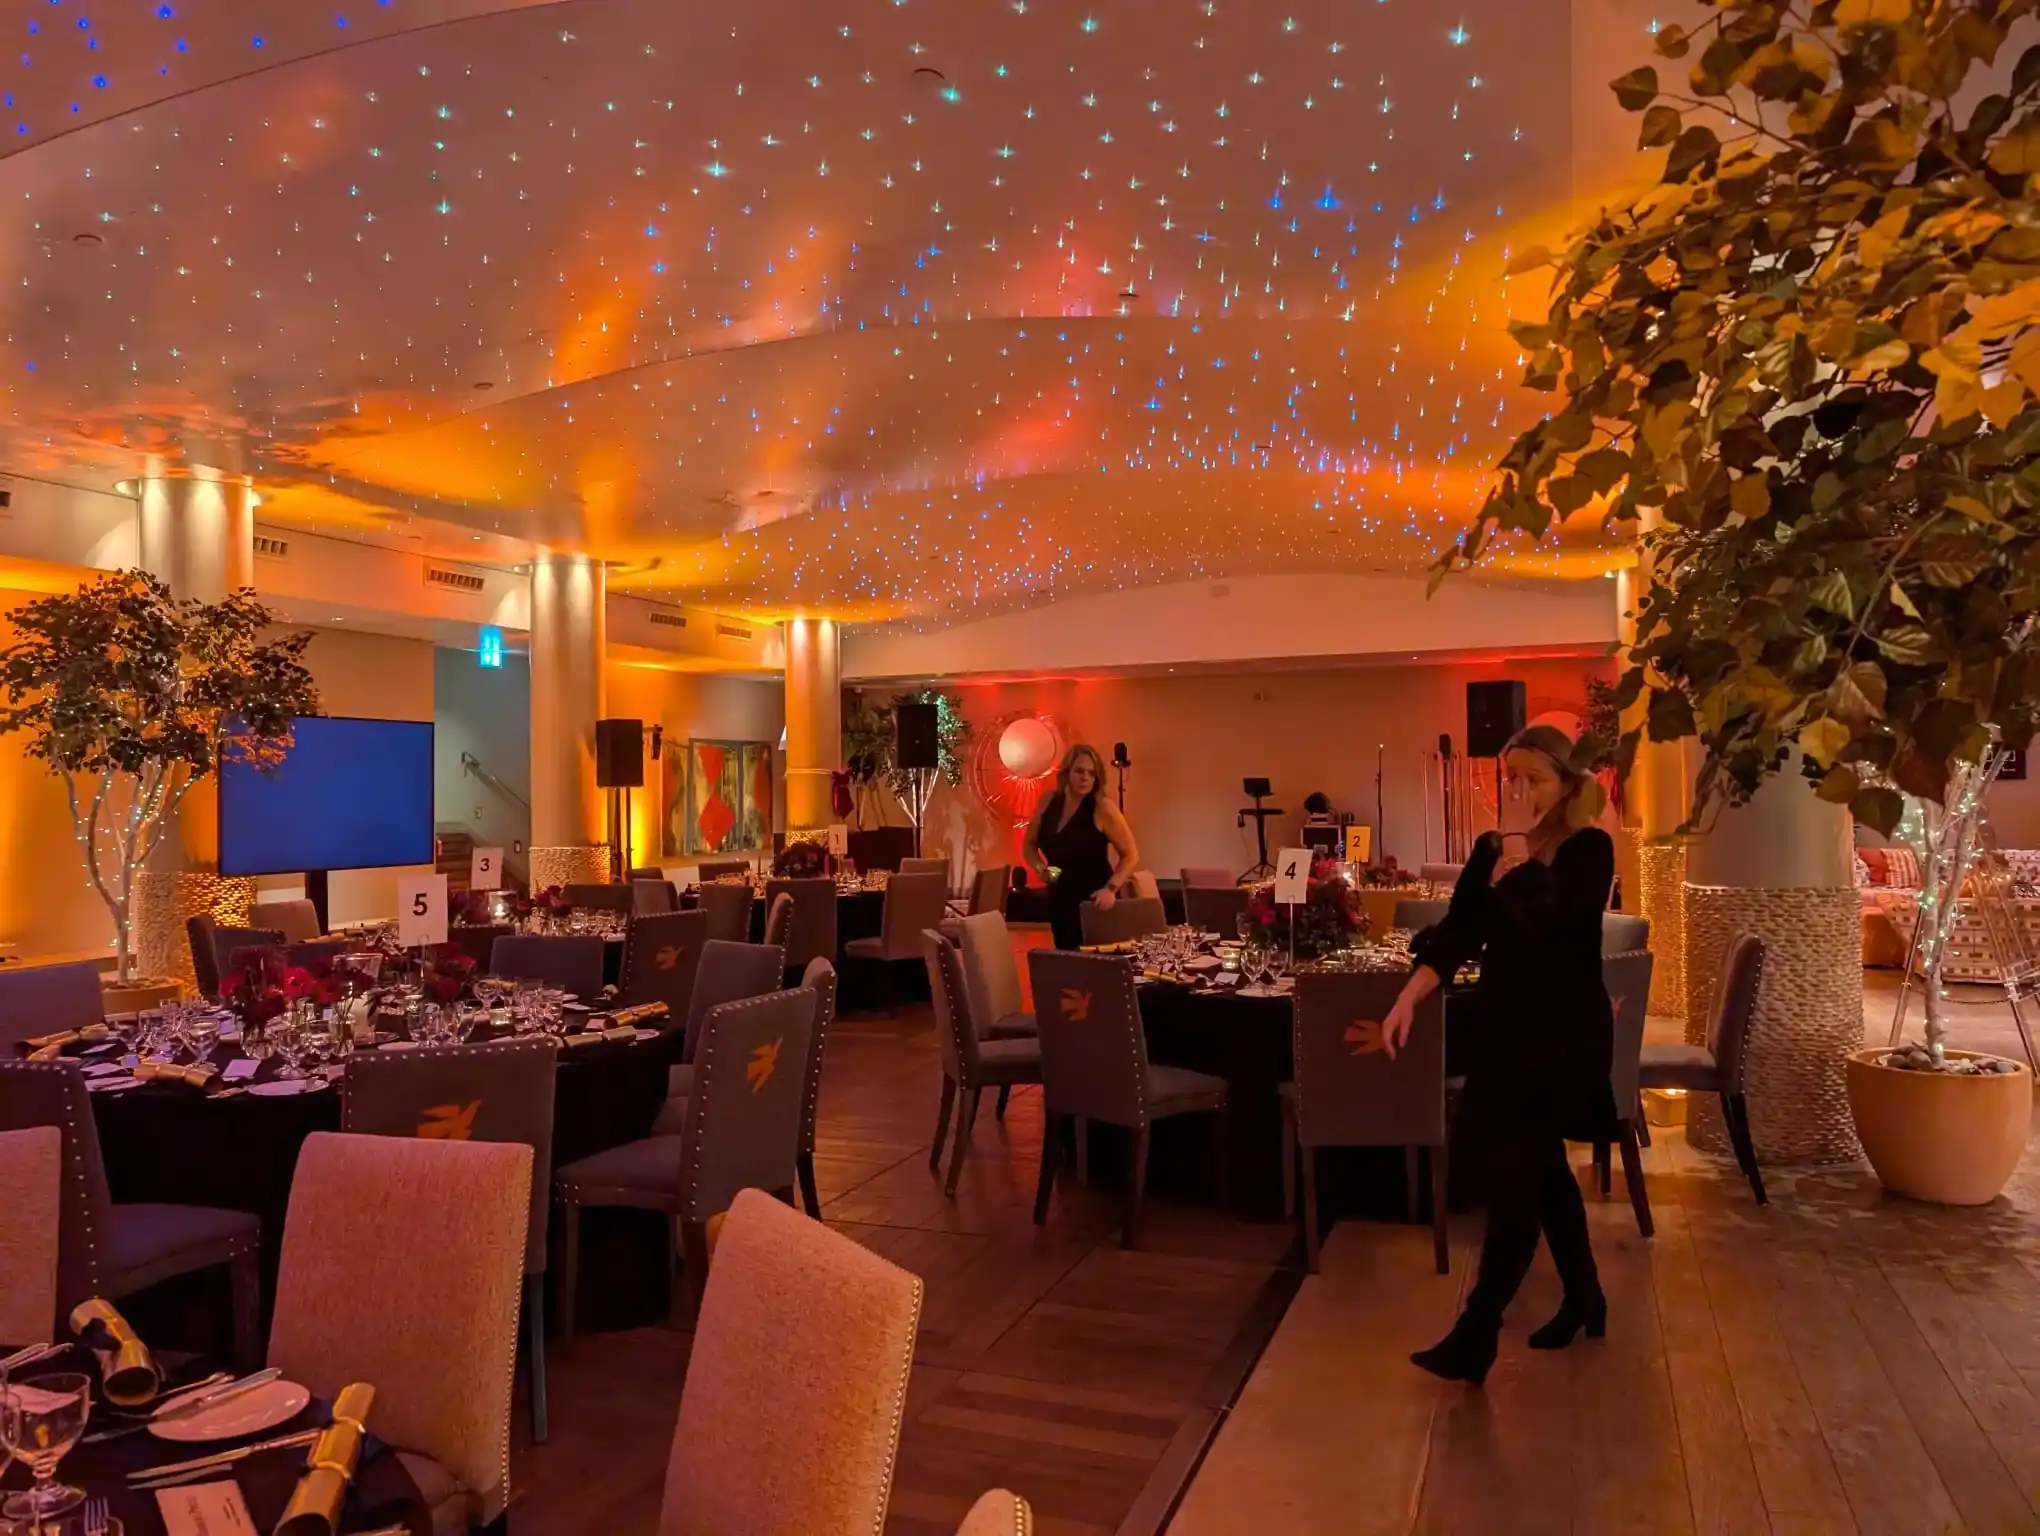
2. Setting up the perfect location
The location where you want to set your projector matters, especially when it comes to creating an optimal viewing experience.
Control ambient light
Darken the space as much as possible to improve image visibility and contrast. Blackout curtains or shades work wonders for daytime setups.
Proper throw distance
Measure the distance between the projector and the screen. A short-throw projector needs less space, while a long-throw will require more space. Check your projector manual for throw ratio details.
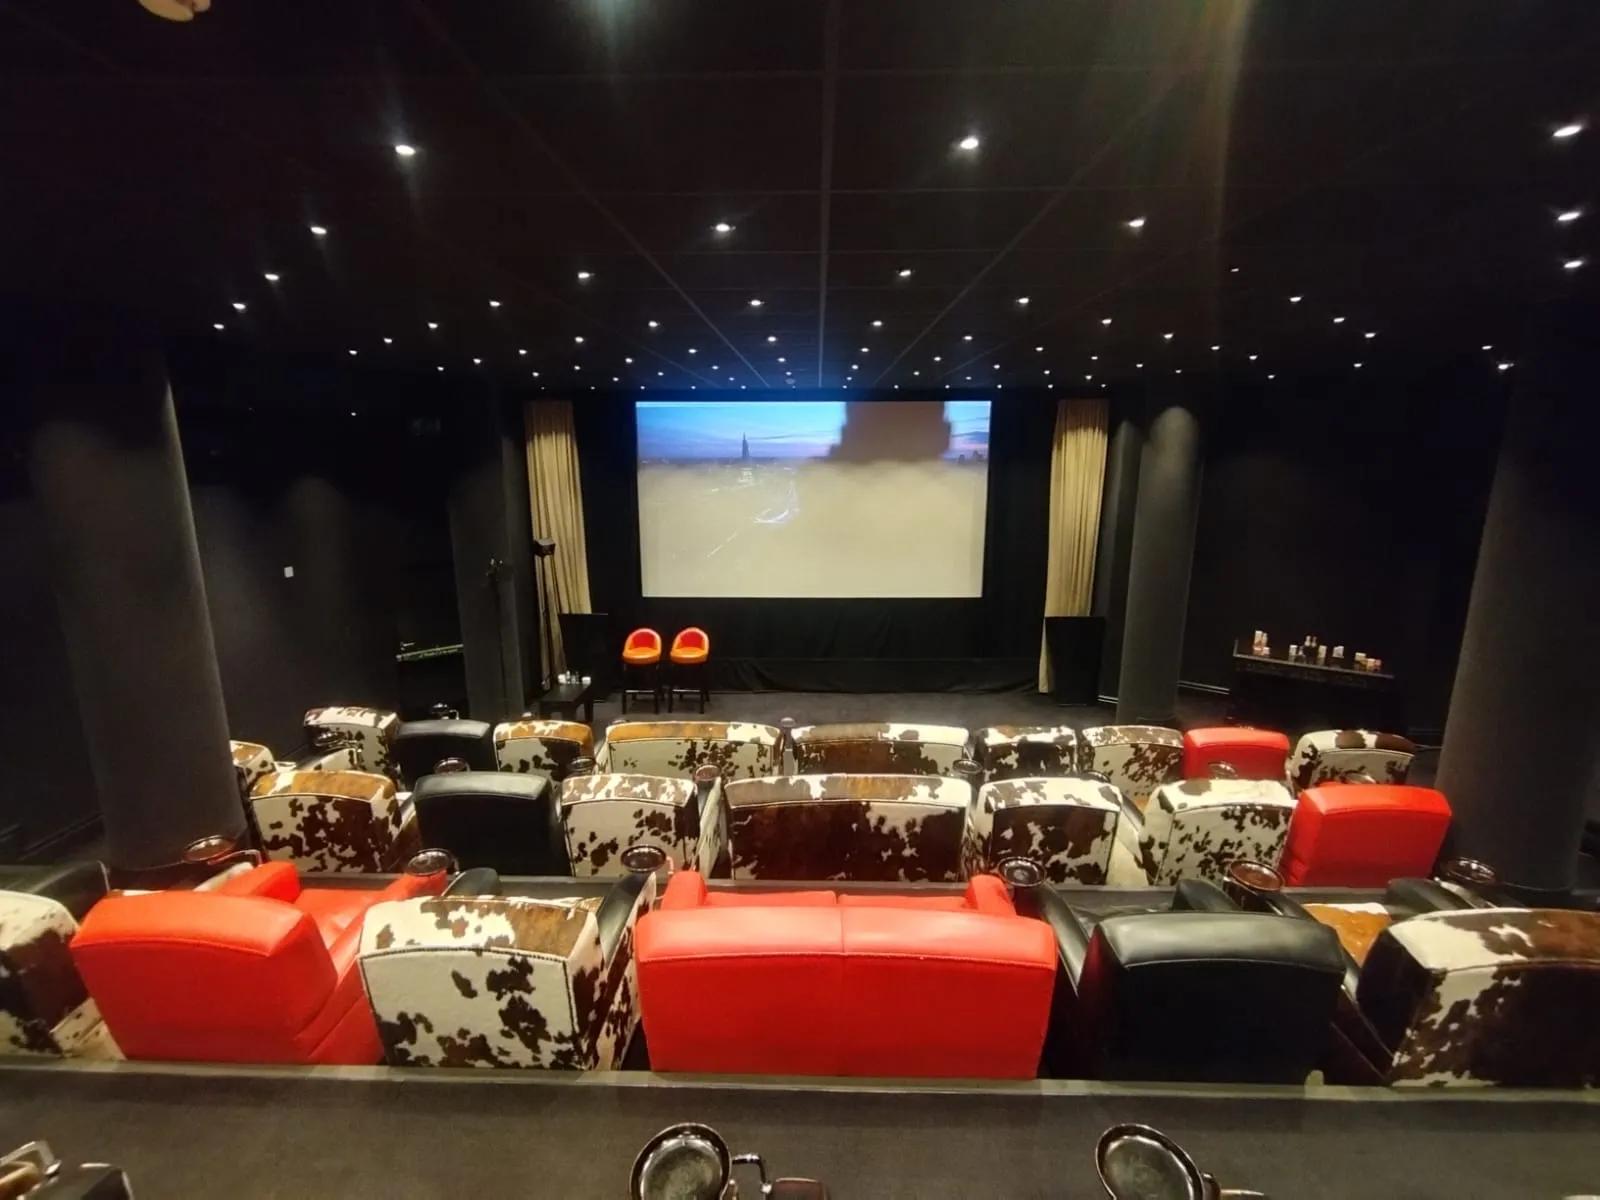
Seating arrangement
Arrange seats in a way so everyone can see the screen without obstruction.
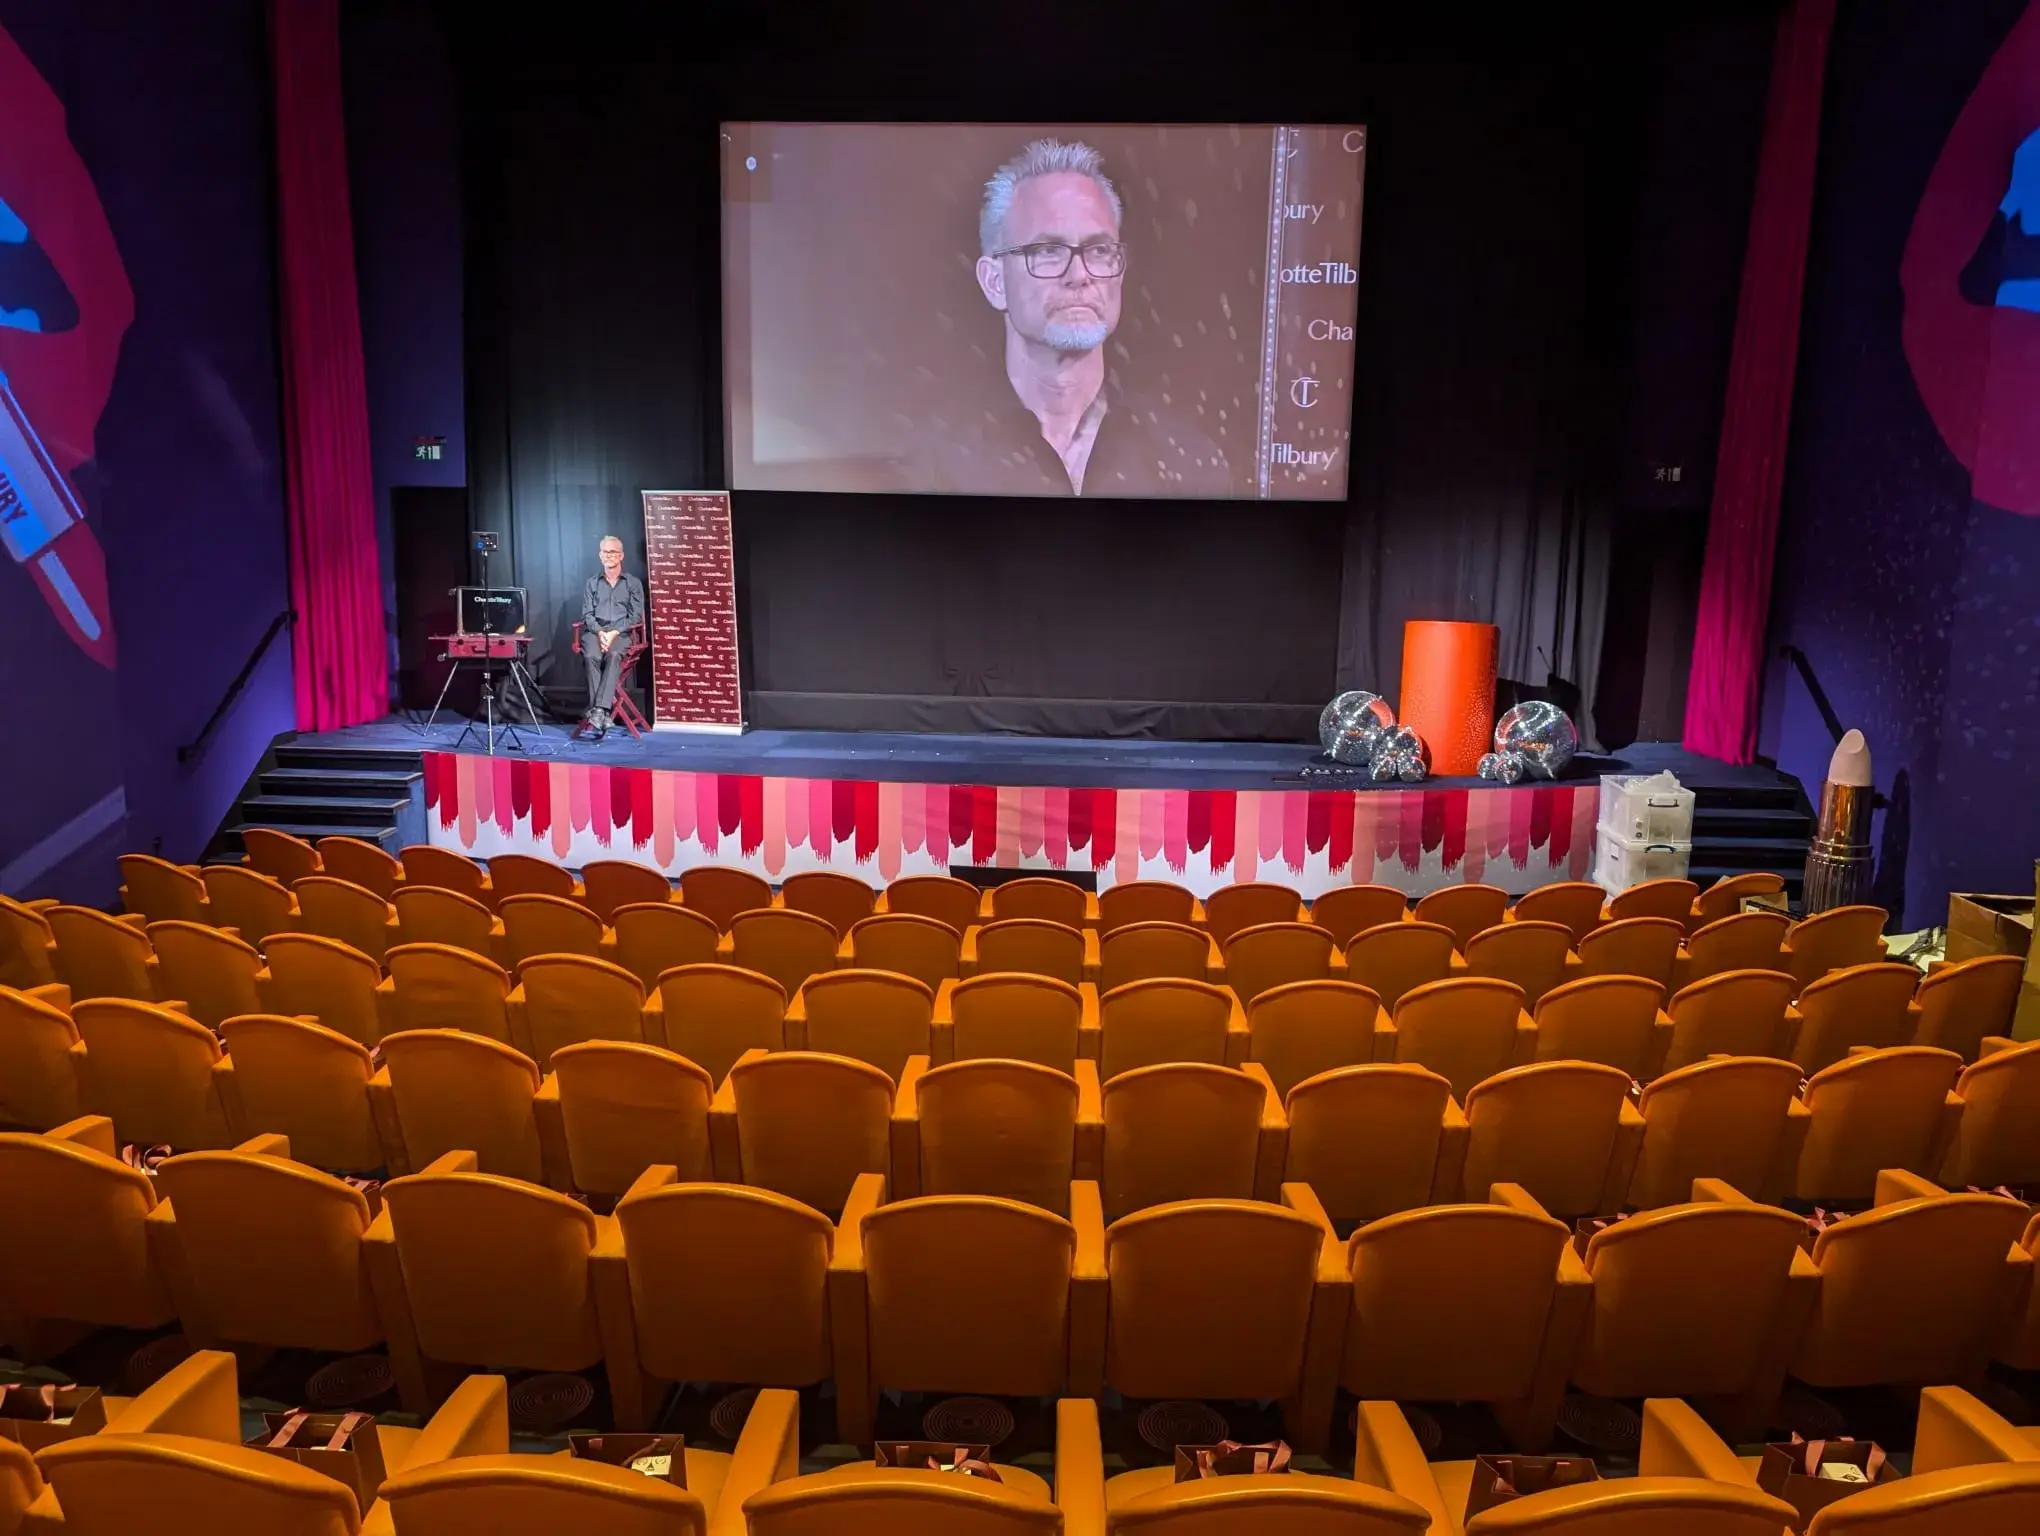
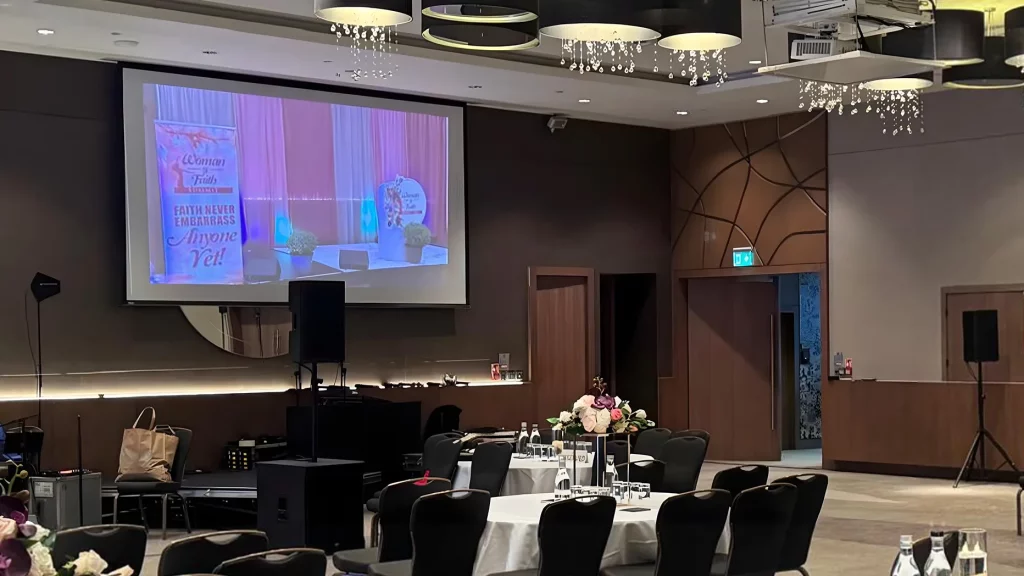
3. Setting up the projection screen
A high-quality screen enhances picture clarity and colour reproduction. If you don’t have one, make sure your wall is smooth, clean, and painted white for the best results.
Types of screens to consider for projectors
- Portable screens, which are huge, are best for events and temporary setups.
- Fixed frame screens are ideal for permanent theatres, conference rooms, etc.
- Electric screens controlled by remote or effortless use.
Just make sure that the screen size matches the resolution capability of your projector.
A suitable aspect ratio
It is important to choose the right aspect ratio to optimise your experience. It is basically the ratio between the height and width. Some of the most common ones are the following:
- 16:9, which is perfect for home theatres.
- 4:3, this is compatible with projectors as a TV.
- 16:10 for the projectors as a PC monitor.
For instance, An HD projector works better with a ratio of 16:9. Are you still confused about the right screen? Here is always an option to hire a projector and screen rental for cost effective and smooth work.
4. Positioning projector correctly
Proper projector placement minimises distortions and maximises clarity. Thus, it is important to take care of the following things:
Angle alignment
Place the projector at a direct angle to the centre of the screen. Do not tilt it too high or too low, creating a skewed image.
Keystone correction
Most modern projectors have keystone corrections, which adjust distorted images. Use this setting sparingly. Also, physical alignment is always better.
Projector mounts
If using a ceiling or wall mount, double check measurements for perfect alignment.
Note: The perfect height and angle are very important for the quality image. If the image is not clear after all the settings, then the projector is small for your screen size.
5. Connecting devices
Connecting your devices is where the magic begins. Projectors are compatible with various inputs: laptops, Blu-ray players, gaming consoles, and even smartphones.
Steps to connect
- Check input ports; the most common ones are HDMI, USB-C, and VGA ports.
- Use high-quality cables to avoid flickering or signal loss.
- Wireless pairing is also available for newer devices with wifi.
Connect directly to streaming devices or apps for added convenience.
6. Calibrating image
Once your device is connected, it’s time to check the picture quality and adjust it to calibrate the image quality.
Focus & zoom
Rotate the focus ring until the image is crisp. Also, adjust the zoom feature to the image within the screen boundaries.
Brightness and contrast
Increase the brightness for rooms with ambient lights and then fine tune contrast to highlight details in darker scenes.
Advanced settings
Depending on the media file, choose the 2D or 3D settings and tweak them to improve image quality. Also, Explore other features such as colour temperature, sharpness, and edge masking for a more HD and pro experience.
7. Getting audio right
No presentation or movie night is complete without an excellent sound system. Thus, to amplify your experience, here is what you have to do:
External speakers
Use external speakers because built-in ones often lack depth. You may use AUX, bluetooth or optical outputs.
Sound positioning
Place speakers evenly around the room for surround sound.
Volume check
Check the volume and test the sound levels in advance to avoid mid event interruptions.
8. Outdoor projector setup
Are you planning to set up an outdoor projector, which is a great way to host movie nights or events under the stars? If yes, then let us help you set this up properly.
Weatherproofing
Protect your projector and screen with waterproof covers and use cable designs for outdoor conditions.
Power source
Ensure you have reliable access to power or use a generator for a stable power supply.
Screen stability
Use sturdy frames for outdoor screens to prevent them from swaying in the wind.
The tips mentioned above are some common ones, but they may expand depending on the situation.
Troubleshooting common problems of the projector
Last but not least, even the best projectors can occasionally encounter issues. Here is how to handle them:
Connectivity issue
Double-check cables and ensure they are fully plugged in and compatible with the device.
Overheating
Ensure there is proper ventilation around the projector. If needed, you may clean the air vents and filters.
Blurry image
Recheck the focus settings and placements of the projector. Clean the lean and ensure no light is directly hitting the screen.
Ending note
Using a projector may seem complicated at first, but with the right preparation and setup, it becomes a seamless and rewarding experience. Every step makes a big difference, from choosing the perfect projector to creating an immersive experience. So roll out your screen, dim the lights, and enjoy the projection done right.